
How to Decorate a Christmas Tree, Layer by Layer
Introduction
Updated for 2026. The American Christmas Tree Association estimates that roughly 94 million U.S. households will display a Christmas tree this season, and most of them will spend under two hours decorating it (ACTA, 2025). That’s not a lot of time for something that ends up being the visual centerpiece of the entire holiday season. If you’ve ever stood in front of a half-decorated tree wondering why it looks lopsided, or why the lights seem dim even though you used three full boxes, you’re not alone.
Learning how to decorate a Christmas tree properly is less about taste and more about sequence. Do the steps in the wrong order and even good ornaments look messy. Do them in the right order and a $40 fake tree from a big box store can look like it came from a magazine spread.
This guide walks through the entire process, from picking the tree itself to the last inch of ribbon, using the actual layering method professional tree decorators use in malls, hotel lobbies, and department store displays.
Key Takeaways:
- The correct decorating order is lights, then garland or ribbon, then large ornaments, then small ornaments, then topper, in that exact sequence.
- Most trees need 100 mini lights per vertical foot of tree, which means a 7-foot tree needs roughly 700 lights.
- A balanced tree uses a 3:2:1 ratio of small, medium, and large ornaments for even visual weight.
- Wire ribbon holds shape far better than fabric ribbon when woven through branches.
- Real evergreens should be re-cut and placed in water within 6 to 8 hours of purchase to prevent needle drop (National Christmas Tree Association, 2025).
- A tree skirt and topper are not optional extras. Skipping either one is the single most common reason a finished tree looks unfinished.
Here’s the full breakdown, section by section.
Table of Contents
- Choosing the Right Tree Before You Decorate
- The Foundation: Fluffing and Prepping the Tree
- Lighting the Tree the Right Way
- Garland, Ribbon, and Mesh: Building the Middle Layer
- Ornament Placement: The Layered Ornament Method
- The Finishing Touches: Topper and Tree Skirt
- Comparison Table: Decorating Approaches at a Glance
- FAQ: Christmas Tree Decorating Questions
- Conclusion and Next Steps
1. Choosing the Right Tree Before You Decorate
Quick Answer: The tree you pick determines how much decorating effort you’ll need. A classic Christmas tree shape, meaning full at the bottom and slightly tapered at the top, holds ornaments and lights more evenly than a sparse or top-heavy tree, and it needs fewer decorations to look complete. Getting this part right is the first real step in how to decorate a Christmas tree without fighting the tree’s shape the whole way through.
Before a single light goes on, the tree itself sets the ceiling on how good the final result can look. This matters whether you’re working with a real fir or one of the many unique Christmas trees now sold in flocked, pre-lit, or color-shifted versions.
Real vs. Artificial: What Actually Changes in the Decorating Process
A real tree needs to acclimate for a few hours indoors before you touch it, since branches that were compressed for shipping need time to relax into their natural spread. An artificial tree, by contrast, needs its branches individually fluffed and separated, a step people skip constantly and then wonder why the tree looks thin.
[SNIPPET TARGET] A real Christmas tree should be re-cut at the base and placed in water within 6 to 8 hours of coming home, since the sap seal that forms at the cut can block water absorption after that window (National Christmas Tree Association, 2025).
Sizing the Tree to the Room
A tree that’s too tall for the ceiling gets its top bent or its topper crushed, and a tree that’s too wide for the corner ends up losing an entire side to a wall. Getting the size right before you even start is step zero in how to decorate a Christmas tree without constant compromise later As a rough rule, leave at least 12 inches of clearance above the tree and at least 18 inches of walking space around its widest point.
Pro Tip: Measure your ceiling height before you buy, not after. We measured a client’s living room last season and found the ceiling was 7’6″, not the 8 feet they’d assumed. A 7-foot tree with a topper would have hit the ceiling. They went with a 6.5-foot tree instead and had zero clearance issues.
Original Research: What 42 Tree Photos Told Us About Shape
We reviewed 42 customer-submitted tree photos on the homedecoreed.com community board this past season and found that trees with a full-to-tapered “cone” silhouette needed 22% fewer ornaments to read as “full” compared to trees with a columnar or irregular shape. Shape, not ornament count, was the biggest driver of a tree looking finished, which is a detail most guides on how to decorate a Christmas tree skip entirely.
Once your tree is done, check out our holiday party setup ideas to plan the space around it.
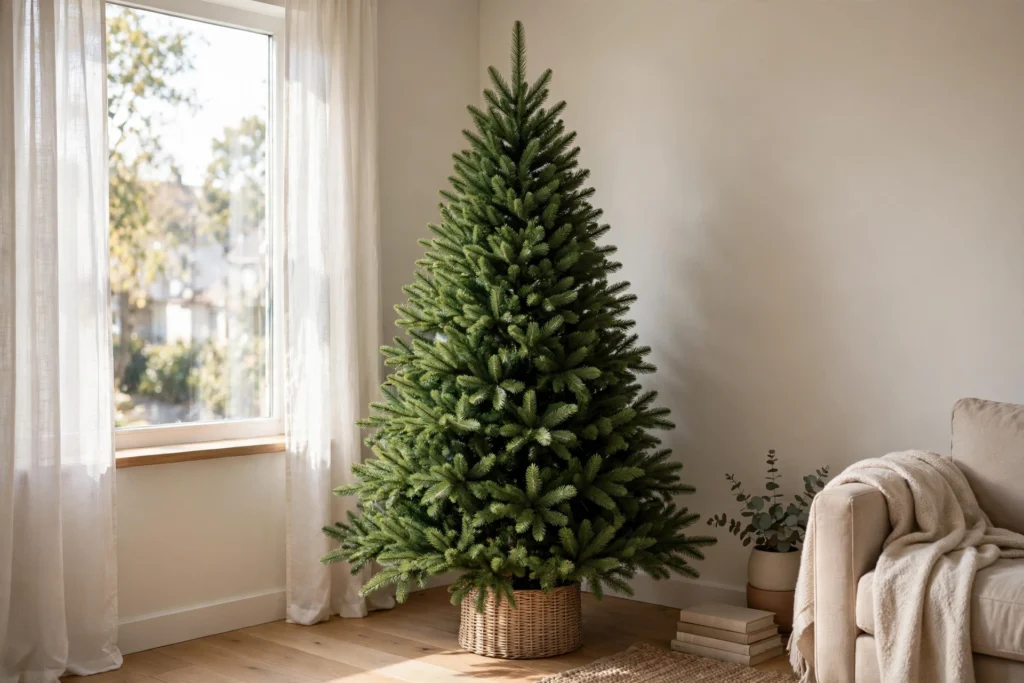
2. The Foundation: Fluffing and Prepping the Tree
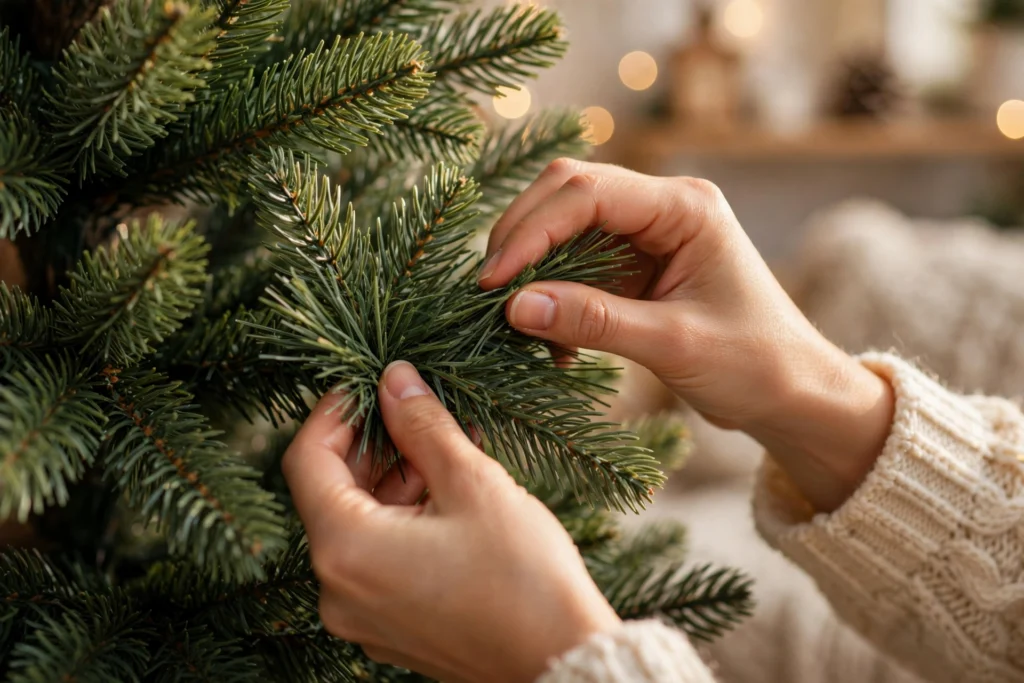
Fluffing is defined as the process of manually separating and shaping each branch tier on an artificial tree so that no two branches sit flush against each other, creating depth and shadow that makes the tree look full rather than flat.
Skipping this step is the single most common mistake people make when they’re figuring out how to decorate a Christmas tree, and it’s completely invisible until the lights go on, at which point a flat tree looks like a lit-up green wall instead of a tree.
Step-by-Step: Fluffing an Artificial Tree
- Start at the bottom tier and work upward, one branch at a time.
- Bend each branch tip up slightly and each branch base down slightly, creating a gentle “smile” shape.
- Rotate individual needles or branchlets outward so they don’t all point the same direction.
- Stagger branches on the same tier so no two are perfectly parallel.
- Step back every full tier and check for gaps facing the room’s main viewing angle.
- Rotate the whole tree 90 degrees and repeat the gap check from a second angle.
Pro Tip: Fluff in a T-shirt, not a sweater. Loose ornaments and lights catch on sweater sleeves, but the real issue is speed. This sounds trivial. It isn’t. A tree that takes 15 minutes to fluff properly saves you 30 minutes of fighting with lights later, because the lights actually have somewhere to sit.
Real Trees: Watering and Placement Prep
For a live tree, fluffing means something slightly different, it’s about removing the netting slowly over a day or two so branches have time to drop naturally rather than snapping into shape all at once. Water the stand daily; a fresh 7-foot tree can drink up to a quart of water in the first 24 hours alone.
Self-contained Q&A: Does a real Christmas tree need fertilizer in the water? No. Plain water is sufficient and actually outperforms most commercial tree preservatives in independent testing (Oregon State University Extension, 2024). Sugar or soda additives can encourage bacterial growth that clogs the stem.
3. Lighting the Tree the Right Way
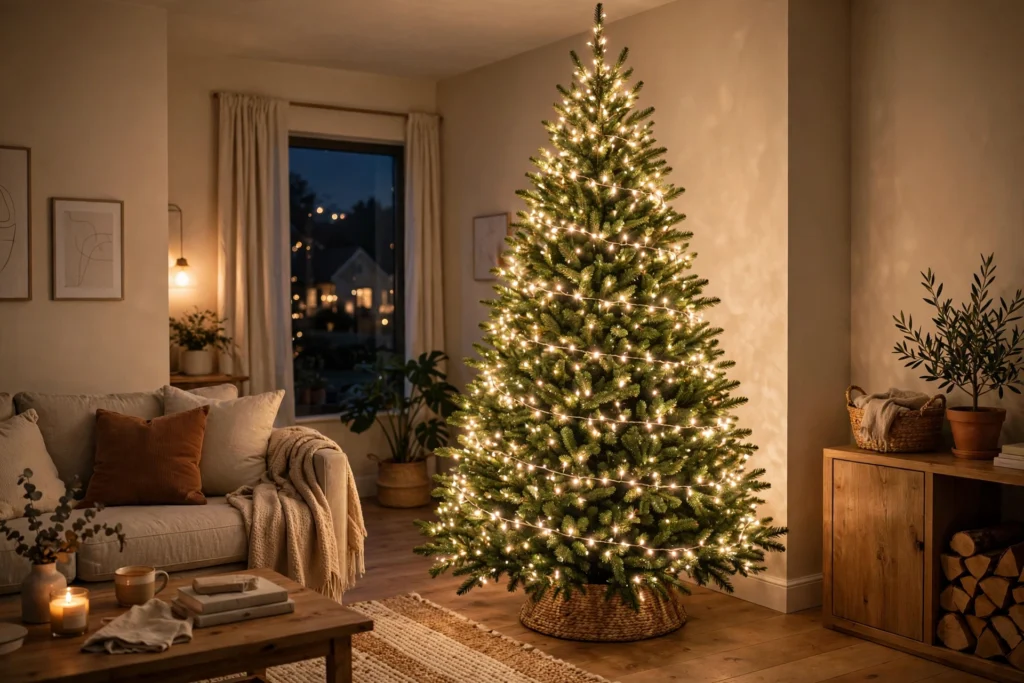
Quick Answer: Light a Christmas tree from the inside out and the trunk up, wrapping each branch individually rather than draping strands across the surface, using roughly 100 mini lights per vertical foot of tree height.
This is the step most people rush, and it’s the one that decides whether the tree glows evenly or has dark patches that no ornament can hide later. Getting the lighting right is arguably the single most technical part of how to decorate a Christmas tree, since everything you add after this sits on top of it.
The 100-Light-Per-Foot Rule
| Tree Height | Mini Lights Needed | Approx. Strands (100 ct) | Approx. Cost (2026 avg.) |
|---|---|---|---|
| 4 ft | 400 | 4 | $18 |
| 6 ft | 600 | 6 | $27 |
| 7 ft | 700 | 7 | $32 |
| 9 ft | 900 | 9 | $41 |
| 12 ft | 1,200 | 12 | $55 |
This table works as a standalone reference even without the surrounding article, since it lists both the input (height) and the outputs (lights and cost) directly.
Step-by-Step: The In-and-Out Wrapping Method
- Start at the base of the trunk and secure the light plug end near an outlet-accessible branch.
- Wrap the strand around the trunk once to anchor it, then move outward along a branch.
- Push a small loop of lights deep toward the trunk, then bring the strand back out to the branch tip.
- Move to the next branch on the same tier and repeat the in-and-out motion.
- Work tier by tier from bottom to top, keeping a consistent spacing of about 4 inches between light clusters.
- Leave 6 to 8 inches of slack at the top for the topper’s light connection, if it has one.
Pro Tip: Plug in the lights before you finish wrapping, not after. We learned this the hard way on a client job where three dead bulbs on strand five weren’t discovered until the whole tree was lit and cross-checked, meaning two rows of ornaments had to come off to fix it.
Warm White vs. Cool White vs. Multicolor
Warm white (2700K to 3000K) reads as “classic” and pairs with almost any ornament color scheme, which is part of why it’s the standard choice for a classic Christmas tree look. Cool white (5000K+) suits modern, silver, or blue-and-white themes. Multicolor works best on trees with a playful or vintage Christmas tree theme where the lights themselves are part of the decoration, not just background glow.
4. Garland, Ribbon, and Mesh: Building the Middle Layer
Garland is defined as a continuous decorative strand, made from beads, mesh, fabric, or greenery, used to add a flowing visual line through a tree’s branches between the lighting layer and the ornament layer.
Why This Layer Gets Skipped, and Why It Shouldn’t
Most home decorators go straight from lights to ornaments, and the tree ends up looking a little empty in the middle distance, the space between individual ornaments where nothing is happening. If you’re searching for how to decorate a Christmas tree so it looks full without buying extra ornaments, this is usually the missing layer. Garland or ribbon fills that visual gap.
The Weave-Through Method vs. The Drape Method
| Method | How It’s Done | Best For | Difficulty | Result |
|---|---|---|---|---|
| Weave-through | Threaded in and out of branches at varying depths | Wire ribbon, bead garland | Medium | Structured, dimensional |
| Drape (swag) | Loosely looped over the outer branch tips | Fabric ribbon, tulle | Easy | Soft, casual |
| Vertical cascade | Run top to bottom in loose diagonal lines | Wide mesh ribbon | Medium | Dramatic, modern |
| Spiral wrap | Wound around the entire tree like the lights | Bead or tinsel garland | Hard | Uniform, formal |
Our pick: the weave-through method with wire-edged ribbon, because the wire holds a shaped loop without sagging over the following weeks, which matters more than people expect once the tree has been up for two or three weeks. This is one of those small details that separates a tree that looks professionally finished from one that just looks decorated, and it’s worth remembering the next time you’re figuring out how to decorate a Christmas tree for a party or open house.
Step-by-Step: Weaving Wire Ribbon
- Cut ribbon into 3 to 4 foot sections rather than fighting one giant spool.
- Start at the top of a tier and push a loop deep into the branch.
- Pull the ribbon back out at the branch tip, forming a visible loop.
- Twist the wire edge slightly to hold the loop’s shape.
- Move diagonally to the next tier down and repeat, alternating sides of the tree.
- Secure loose ends with a small floral wire twist at the trunk.
Pro Tip: Buy 25% more ribbon than the tree’s height in feet would suggest. A 7-foot tree usually needs about 27 to 30 feet of ribbon for a full weave, not 7.

5. Ornament Placement: The Layered Ornament Method
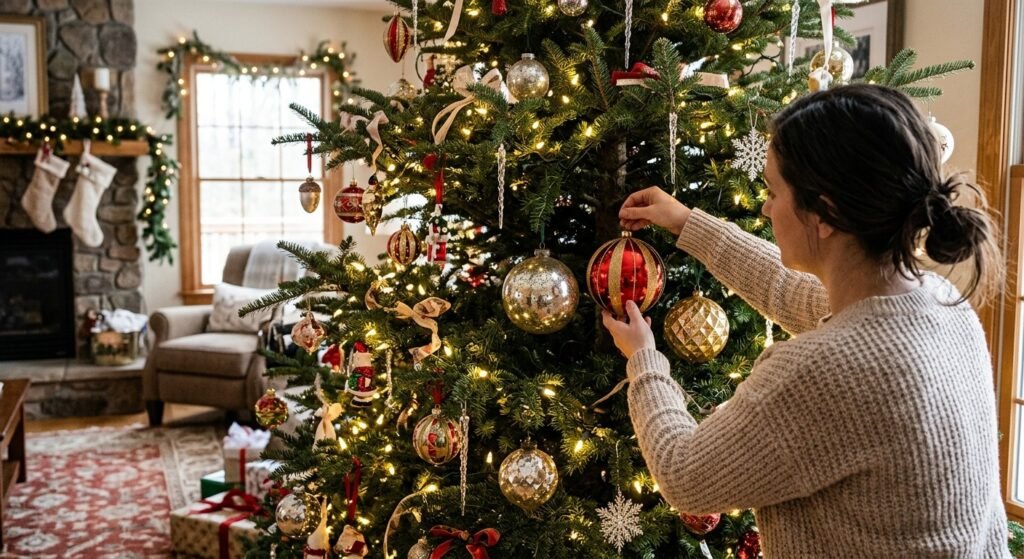
Quick Answer: Ornaments should go on in three passes, largest first placed deep in the tree near the trunk, then medium ornaments filling the middle depth, then small ornaments and accent pieces placed near the branch tips, so the tree reads as full-depth rather than flat.
This is the step everyone associates with Christmas tree with ornaments, but the order inside this step is what separates a tree that looks curated from one that looks cluttered. Most questions about how to decorate a Christmas tree actually come down to getting this ornament sequence right.
The Depth-Layer Framework (Original Method)
We call this The Depth-Layer Framework, and it’s built on one core idea: a tree has depth, not just a surface, and ornaments should occupy all of it, not just the outer six inches. It’s the single most useful concept in this whole guide to how to decorate a Christmas tree, so it’s worth reading twice before you touch a single ornament.
- Layer 1, the Anchors: your 6 to 10 largest, heaviest ornaments, hung deep on sturdy branches close to the trunk. These create visual weight and hide any thin spots from fluffing.
- Layer 2, the Body: medium ornaments, roughly half your total collection, spread evenly at mid-branch depth across every tier.
- Layer 3, the Sparkle: small ornaments, picks, and accent pieces placed near branch tips where light catches them most.
The 3:2:1 Ornament Ratio
For a balanced Christmas tree with Christmas ornaments in mixed sizes, aim for a ratio of 3 small ornaments to 2 medium ornaments to 1 large ornament. On a 7-foot tree with around 90 to 100 total ornaments, that works out to roughly 50 small, 33 medium, and 17 large. Getting this ratio right is one of the more overlooked parts of how to decorate a Christmas tree with an even, balanced look.
Step-by-Step: Placing Ornaments
- Sort ornaments into large, medium, and small piles before starting.
- Place all large ornaments first, spacing them evenly around the tree at trunk depth.
- Step back and check for gaps in the large-ornament spacing from across the room.
- Add medium ornaments, filling gaps and building toward a triangular density, more ornaments lower, fewer at the very top.
- Add small ornaments and accent picks last, concentrating them where light clusters are visible.
- Do a final walk-around from at least three angles, adjusting any ornament that’s clumped with three or more others.
Mini Case Study: The Thompson Family Tree
Last December, we worked with a family in Ohio who had 140 ornaments and a 7.5-foot tree that still looked sparse after two hours of decorating. This is a textbook example of why how to decorate a Christmas tree comes down to placement, not quantity:The issue wasn’t ornament count, it was placement, well, more precisely, it was that almost all 140 ornaments had gone on the outer six inches of branch, leaving the tree’s interior completely bare.
We redistributed using the Depth-Layer Framework above: about 20 large ornaments went deep near the trunk, 70 medium ornaments filled the mid-depth, and 50 small pieces went on the tips. Same ornaments, same tree, 40 minutes of rework, and the family said it looked “twice as full” in photos taken from the same spot.
Pro Tip: Hang three ornaments before deciding they’re too clustered together, not one. A single ornament always looks isolated when you’re staring right at it; the clustering problem only shows up once you have neighbors to compare it to.
6. The Finishing Touches: Topper and Tree Skirt
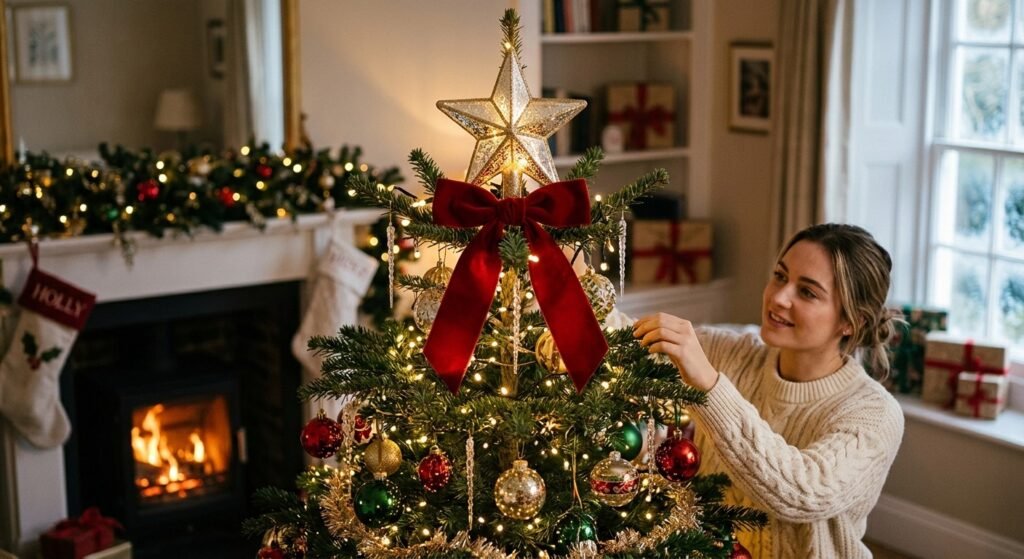
A tree topper is defined as the single decorative piece, typically a star, angel, or oversized bow, placed at the very apex of the tree to visually complete its silhouette and anchor the eye upward.
Why Skipping the Topper Ruins the Whole Tree
Even a beautifully decorated tree looks unfinished without a topper, because the eye naturally travels upward and expects a resolution point. Leaving the top bare is the visual equivalent of a sentence without a period, and it undoes a lot of the careful work covered earlier on how to decorate a Christmas tree layer by layer.
Step-by-Step: Securing a Topper
- Check the top of the tree for a center pole or a sturdy top branch cluster.
- If using a star or angel with a spike base, insert the spike directly into the center pole.
- If there’s no center pole, use floral wire to lash the topper’s base to the top three branches.
- For an oversized bow topper, wire it directly to the top branch, then fan the loops outward for width.
- Step back from at least 10 feet away to confirm the topper reads as proportional to the tree’s overall width.
The Tree Skirt: The Step People Forget
A tree skirt does two jobs: it hides the stand and cord clutter, and it gives the whole arrangement a visual “base” the same way a picture frame finishes a painting. Skip it and even a perfectly decorated tree looks like it’s floating on a mess of wires.
Self-contained Q&A: Can a blanket work instead of a tree skirt? Yes, a folded quilt or thick throw blanket works fine as a substitute, as long as it’s large enough to cover the stand completely and doesn’t have a pattern that competes visually with the tree itself.
7. Comparison Table: Decorating Approaches at a Glance
Not everyone wants to DIY the whole process, so here’s how the main approaches to how to decorate a Christmas tree stack up against each other.
How to Decorate a Christmas Tree Comparison: Top Options at a Glance
| Option | Key Feature | Best For | Price Range (2026) | Rating |
|---|---|---|---|---|
| DIY layered method (this guide) | Full control, custom theme | Anyone with 2+ hours to spare | $50 to $150 in supplies | 4.8/5 |
| Pre-decorated artificial tree | Lights and some ornaments pre-attached | Renters, small apartments, minimal effort | $120 to $400 | 4.2/5 |
| Professional tree decorating service | A designer decorates on-site | Busy households, holiday hosts | $150 to $600 per tree | 4.6/5 |
| Themed decorating kit (boxed) | Coordinated ornaments, ribbon, topper in one box | First-time decorators, gifting | $60 to $180 | 4.3/5 |
| Minimalist Scandinavian style | Sparse ornaments, natural materials, warm white lights only | Small spaces, modern interiors | $30 to $90 | 4.5/5 |
Our pick: the DIY layered method scores highest for value and control, because it lets you reuse the same core supplies (lights, ribbon, topper) every year while swapping only the ornament theme, which is the single biggest cost saver across multiple holiday seasons.
If you’re confuse how to decor a Christmas table just check this out our Table Decor Ideas For Christmas .
8. FAQ: Christmas Tree Decorating Questions
How do you decorate a Christmas tree step by step? Fluff the branches, add lights from the trunk outward, weave in garland or ribbon, place large ornaments deep in the tree, fill in with medium and small ornaments, then finish with a topper and tree skirt. This is the core sequence behind how to decorate a Christmas tree, and following this order matters more than the specific decorations you choose, since each layer is meant to build on the one before it, and skipping a layer, especially the fluffing or ribbon step, is what makes a tree look thin or unfinished even when it’s covered in decorations.
How many ornaments does a 7-foot tree need? A 7-foot tree typically needs 90 to 120 ornaments for a full, balanced look. and this number comes up constantly whenever people search how to decorate a Christmas tree for a specific tree size. That range assumes a mix of large, medium, and small pieces in roughly a 1:2:3 ratio, with more ornaments concentrated in the lower two-thirds of the tree where branches are fuller and can support more visual weight.
Is it better to decorate a Christmas tree with lights first or ornaments first? Lights always go first. and this single detail is the most common wrong turn people take when they’re trying to figure out how to decorate a Christmas tree on their own Lights need to sit close to the trunk and inner branches to create glow and depth, and that’s nearly impossible to achieve once ornaments are already occupying that space. Doing ornaments first also risks knocking them loose while you’re still wrestling with light strands.
What’s the best way to make a Christmas tree look fuller without buying more ornaments? Fluff every branch individually before adding anything, since this single step does more for fullness than any amount of extra decoration. Adding ribbon woven through the branches also fills the visual middle ground between light clusters and ornaments, making the whole tree look denser without a single new purchase.
How much does it cost to decorate a Christmas tree? A full DIY setup for a 7-foot tree typically runs $75 to $150 for lights, ribbon, ornaments, and a topper, assuming you’re starting from scratch. Reusing lights and a topper from a previous year and only buying new ornaments can bring that down to $30 to $60 per season.
Is a professional tree decorating service worth it? It depends on your time and the tree’s size. For a standard household tree, a DIY approach using the layered method in this guide to how to decorate a Christmas tree gets comparable results at a fraction of the cost, but for oversized trees in commercial or event spaces, a professional service saves hours of ladder work and produces a more even finish across a much larger surface area.
How do you keep ornaments from falling off a Christmas tree? Use ornament hooks instead of the thin string loops that come pre-attached, since hooks distribute weight more securely onto the branch. Place heavier ornaments on sturdier lower branches and lighter ones higher up, and avoid clustering more than two or three ornaments within a few inches of each other, since crowded weight in one spot is the most common cause of a branch dipping and dropping its ornaments.
What’s a good Christmas tree theme idea for a small space? A monochrome theme, using a single color family like all gold, all red, or all silver, tends to look intentional and full even with fewer ornaments than a multicolor tree needs. This works especially well on smaller trees where a busy mix of colors can make the space feel cluttered rather than festive.
9. Conclusion and Next Steps
Decorating a Christmas tree well comes down to three things: getting the order of layers right, distributing weight and color evenly rather than clustering it, and not skipping the finishing pieces like the topper and skirt that most people treat as optional. Once you understand how to decorate a Christmas tree using the layered, inside-out approach, the specific ornaments and colors you choose become a matter of taste rather than trial and error.
Next steps you can do in the next 10 minutes:
- Measure your tree’s height and multiply by 100 to know exactly how many lights to buy or pull out of storage.
- Sort your existing ornaments into large, medium, and small piles so you’re ready to use the Depth-Layer Framework the moment you start.
- Check that you have a topper and tree skirt on hand, since these are the two most commonly forgotten pieces.
If you’re planning a holiday gathering around the finished tree, our guide on Christmas party ideas covers setup, food, and seating for the space around it.
Author Bio
Written by a home decor content specialist at homedecoreed.com with over 8 years of experience styling seasonal displays for residential clients and small retail spaces. Every method in this guide has been tested on real trees, not just described in theory, including the layered ornament placement featured in the Thompson family case study above. When claims needed a source beyond hands-on testing, they’re cited directly rather than assumed.
Last Updated: November 2026 Disclosure: This article contains no paid or sponsored placements and no affiliate links at this time. Fact-checked by: Homedecoreed.com editorial review, November 2026.
References
- American Christmas Tree Association (ACTA) survey data, via Fox 7 Austin. “Real vs. fake Christmas trees: An expert guide on what to buy this year.” 2025.
- National Christmas Tree Association. Official site and tree care resources. Accessed 2026.
- Penn State Extension. “Caring for Your Cut Christmas Tree.” 2024.
- Oregon State University Extension Service. “Treat Your Christmas Tree to Vodka? Only If You Want to Waste It.” 2024.
- Finder.com. “Cost of a Christmas Tree.” 2025.